
You Can’t Tell By Looking
Here’s the direct answer: color alone will not tell you whether mold in your home is “black mold” (the toxic-sounding kind people worry about) or one of the more common household molds. Many ordinary molds, including Cladosporium and Alternaria, grow in dark gray-green or black colonies that look nearly identical to Stachybotrys chartarum, the species most people mean when they say “black mold.” The only way to know for certain what species you’re dealing with is lab analysis of a sample. What you can do without a lab is assess the situation: how long moisture has been present, where the growth is, and how much of it there is. That tells you more about the urgency of the problem than the color does.
What “Black Mold” Actually Means
Stachybotrys chartarum needs a specific set of conditions to grow: material that’s been consistently wet for days, not just damp, and a cellulose-rich surface like drywall paper, wood, or ceiling tile. It tends to show up after a slow, ongoing water source, a roof leak that’s been dripping for weeks, a slow plumbing leak inside a wall, chronic condensation in a crawlspace. It often has a slightly slimy or wet-looking texture when active, and can dry to a powdery, flaking texture later. It’s genuinely less common than people assume.
Far more often, what homeowners find is one of a handful of common household molds:
- Cladosporium: olive-green to black, velvety texture, shows up on window sills, HVAC vents, and fabric
- Aspergillus: usually yellow-green or white, powdery, common in dust and on food-adjacent surfaces
- Penicillium: blue-green, often with a musty smell, spreads fast on water-damaged paper and insulation
- Alternaria: dark green to black, velvety, common in showers and under sinks
All of these can cause the musty odor and surface staining that trigger a “black mold” search in the first place. Any of them, in enough quantity, is worth addressing. None of them are identifiable with certainty from a photo or a glance.
What to Do When You Find Suspected Mold
- Note the size and location. The EPA’s general guidance (not a Heritage Restoration policy, just a widely used benchmark) is that mold-affected areas smaller than about 10 square feet are often manageable as a DIY cleanup, while larger areas warrant professional evaluation.
- Identify and stop the moisture source if you can. Mold doesn’t grow without sustained water or humidity. If you can see where it’s coming from, a leaking supply line, a roof penetration, condensation on a cold window, address that first or the mold comes back regardless of how well you clean.
- Photograph it before you touch anything. This matters for insurance purposes and for tracking whether it spreads.
- Ventilate the space. Open a window if weather allows, or run a fan pointed out of the room, not through the rest of the house.
- Keep people with asthma, allergies, or compromised immune systems out of the room until it’s addressed.
What Not to Do
- Don’t paint or caulk over visible mold. It will continue growing underneath and the problem becomes invisible, not solved.
- Don’t use bleach as your only strategy on porous materials. Bleach can discolor mold on nonporous surfaces like tile, but on drywall, wood, or insulation it often doesn’t reach the roots and can push moisture further into the material.
- Don’t run the HVAC system with visible mold near a vent or return. Spores circulate through ductwork and can seed growth in other rooms.
- Don’t assume a strong cleaning smell means it’s gone. Odor is not a reliable indicator that the underlying moisture or growth has actually been resolved.
- Don’t disturb large areas of mold without protection. Dry disturbed mold releases spores into the air, which is how a contained problem in one room becomes an airborne issue in several.
When It’s Time to Call a Professional
A handful of situations move this past a DIY wipe-down:
- The affected area is larger than a couple of square feet, or it’s spread across multiple rooms
- The mold followed a known water event, flooding, a burst pipe, a slow roof leak you didn’t catch right away
- You’re finding mold inside wall cavities, under flooring, or in HVAC ductwork, places you can see evidence of but can’t fully access or clean yourself
- Someone in the household has a respiratory condition and you want the moisture source and growth addressed thoroughly rather than just on the surface
- You’ve cleaned it once already and it came back
This is also the point where testing starts to make sense. Heritage Restoration’s mold remediation process starts with identifying the moisture source and the extent of growth, not just scrubbing visible staining, because surface cleaning without fixing the underlying moisture is a short-term fix at best.
What the Remediation Process Actually Involves
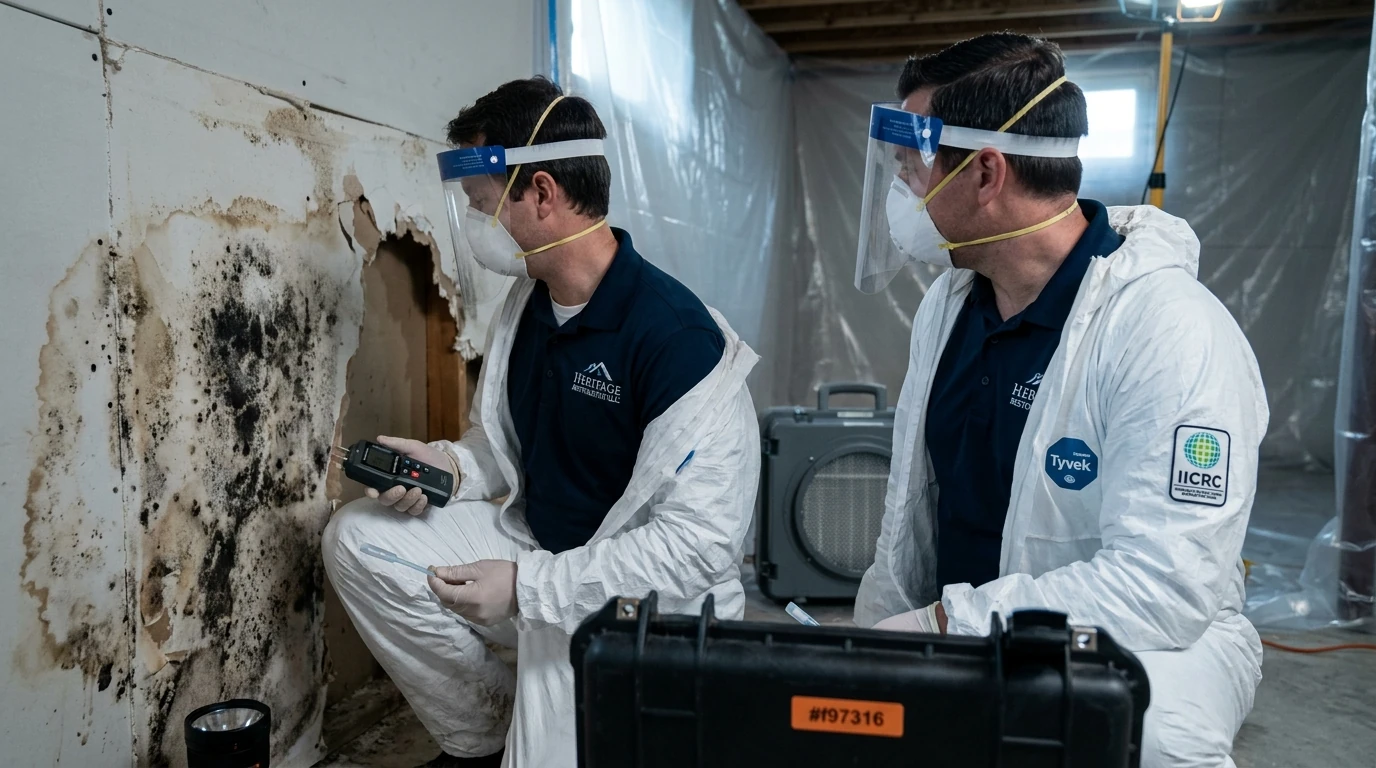
Professional mold remediation isn’t just spraying a surface. It typically includes containing the affected area so spores don’t spread to the rest of the home during the work, removing materials that are too porous to fully clean (often sections of drywall or insulation), HEPA-filtered air scrubbing to capture airborne spores, and treating and drying the remaining structure. The goal is to address both the visible growth and the moisture conditions that let it start in the first place. In Little Falls homes, particularly older houses with basements or crawlspaces, seasonal humidity and spring snowmelt are common culprits behind the slow, chronic dampness that lets mold establish in the first place, which is why fixing ventilation or drainage is often part of the real solution, not just the cleanup.
If you’re staring at a dark patch on a ceiling or behind a baseboard and you’re not sure whether it’s something to wipe off with a sponge or something bigger, the size and water history matter more than the color. When in doubt, Heritage Restoration LLC can take a look and tell you honestly what you’re dealing with: (320) 733-8868.